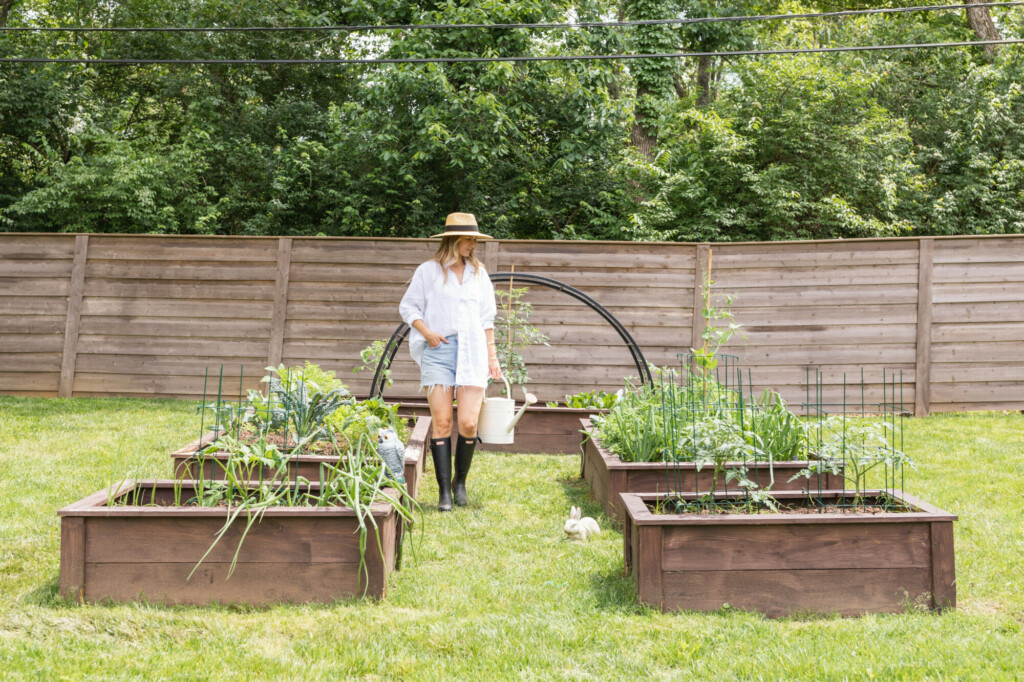
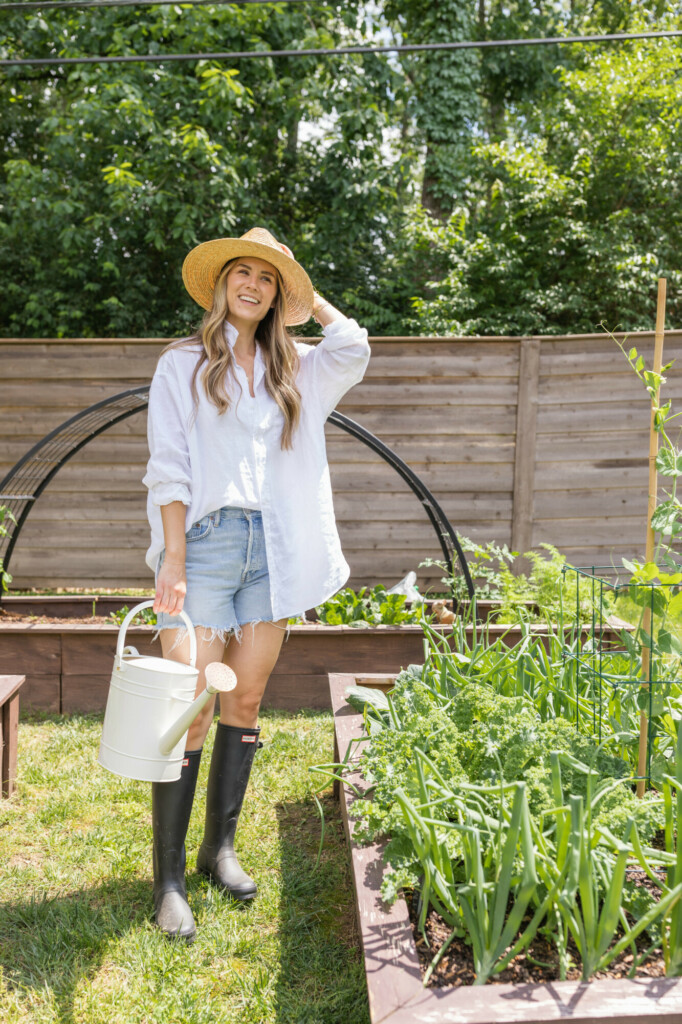
Having a full season of gardening this year has brought so much joy for me! The combination of working outside and growing my own vegetables has been so much fun, and quite the learning experience. And one of the biggest lessons is that each season will teach me something different! I didn’t expect to know everything going into this year, but I definitely expected to have some failures. Here are some things that I’ve learned so far this season:
1. START EARLY
I started some seeds inside the first week in January! And while that might seem a little aggressive, I did the math back from our last average frost date and followed the instructions. There isn’t much you can start that early, especially depending on what zone you live in. But I started some shallots and onions then and they are still looking really good!
If you’re planting everything in your garden when it’s consistently warm out, you’re probably a little too late.
2. GOOD SOIL
To be honest, I don’t know the difference between good and bad soil but I got what seemed like really good soil and compost form a local spot in Nashville and I think that really makes a difference!
3. USE YOUR SMALL PLANTERS
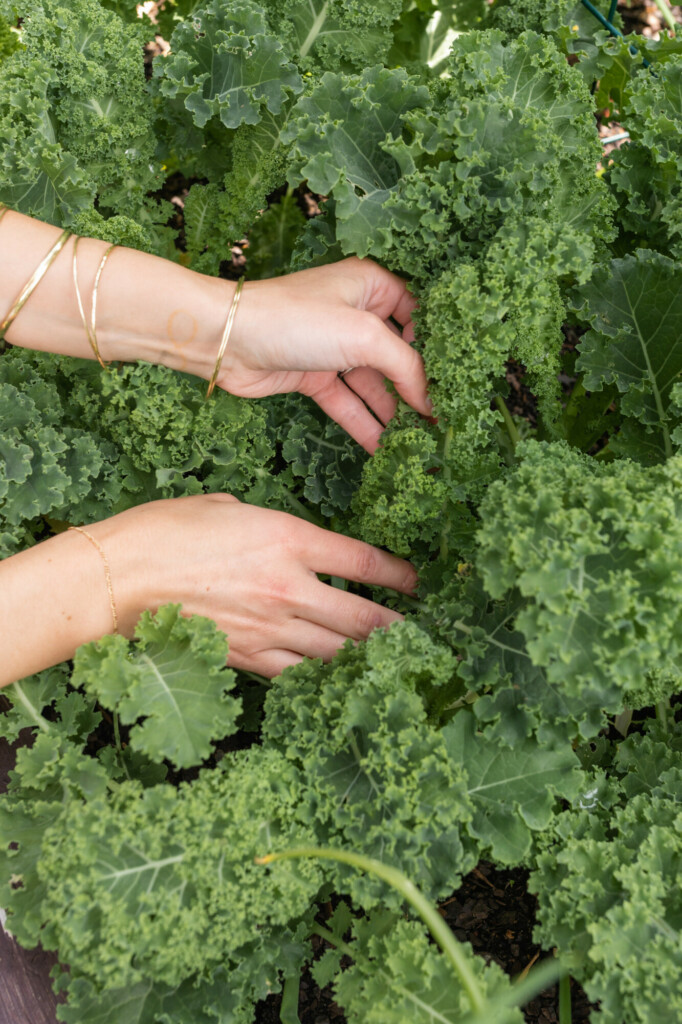
Just because you don’t have a huge garden doesn’t mean you can’t plant things! Some of my favorite items this season have come from a planter, like these cut and come again blends. If you have a big enough planter, you can put the whole bag in it!
I also particularly love container lettuces, like this small buttercrunch lettuce. One harvested is the perfect amount to make a big individual sized salad.
4. FERTILIZE
Again, I still have so much to learn, but I have the perfect story to show you just how important fertilizing is. I had planted two cauliflower and broccoli plants and they were getting huge, like growing out of the garden box huge! But, there was no actual head of broccoli, just the large surrounding leaves. So before I gave up completely I put some fertilizer around the base of each of them, and you’ll never believe that no more than two weeks later I had two cauliflower and broccoli heads growing! That’ll teach me not to forget to fertilize.
Each vegetable requires a different NPK level, so make sure you do your research before throwing some fertilizer in your soil.
5. COOL SEASON VS. WARM SEASON
While I wish you could grow whatever you want, whenever you want, plants are particular. Lettuces for example hate the heat, they will “bolt” and essentially stop growing. So I made sure to plant tons in March so that I could harvest through until June, then stay away from growing any cool season plant between June – mid August.
Some plants like the heat though! I know tomatoes grow in the warm season, and I’ve got 6 tomato plants that I am dying to start harvesting from, so fingers crossed they keep doing well.
Two of my favorite resources for seeds is Botanical Interests and Renee’s Garden, and check out this post for a few of my staple garden tools + accessories.

 INSPIRATION VIA PINTEREST


